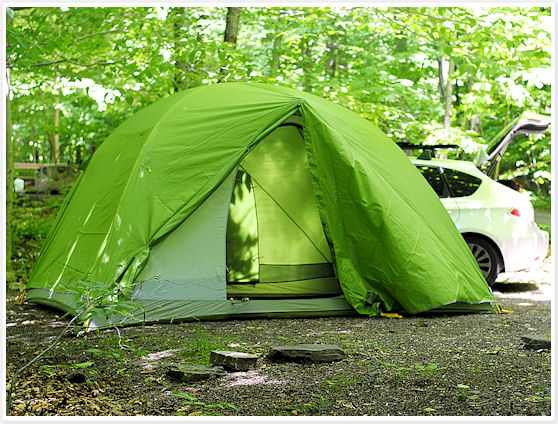
Summer weekends are usually best spent entirely outdoors so a friend and I decided to go on a short Catskills getaway, 2.5 hours drive north of New York City. We set up camp at the Devil’s Tombstone Campground on NY 214, one of the oldest in the Catskills, offering primitive camping and easy access to some serious hikes in the area.
We told ourselves that since we made it all the way here, might as well stick with the theme and try our hiking skills on the famous Devil’s Path, one of the most difficult and dangerous hiking paths on the East Coast (some even say the world!). It is a rugged 27-mile long trail that crosses over seven mountains peaks, and while we didn’t have the time (or the inclination!) to do it all, just attempting a section of it is enough to earn you bragging rights!
The summits of Twin Mountain (yes, as the name implies there are two!) were known to offer some of the best views in the Catskills so we opted for this as our destination and challenge for the day. You can reach the top either via the East or the West side. We were closer to the West side so we drove up to the trail head parking lot there and started our hike with the Roaring Kill trail (another cheerful name!) for 0.4 miles. At the next junction, we took a left to follow the Pecoy Notch trail which would bring us to the Devil’s Path in about 1.5 miles.
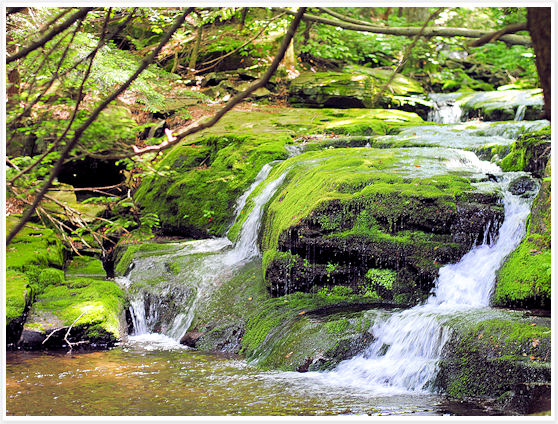
In the beginning, the trail is very mellow and consists of your typical Castkills forest setting with an abundance of flat stones, dense forest areas, cute little streams and a few distractions such as a big beaver pond.
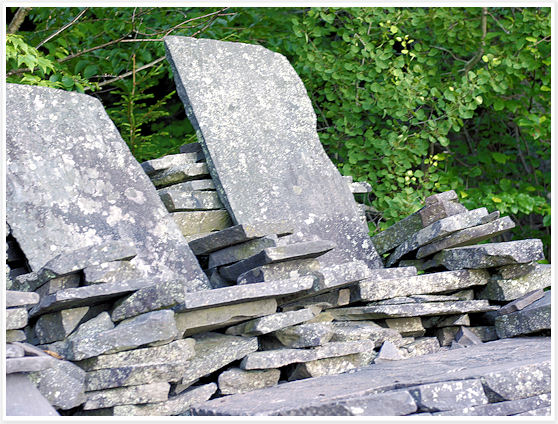
The trail wound gradually uphill, higher and higher, passing a great stone quarry along the way where you can take a little break and sit in one of the chairs built out of the slate, taking in the nice views across the valley.
We eventually reached the junction with the Devil’s Path, marked in red unsurprisingly, and soon started to witness the nastiness of its name – from now on, it was going to be challenging and no doubt that the Devil worked hard to make it as difficult as possible for us to pass through!
You better be a skilled hiker who is in good shape and unafraid of heights for this one, that’s for sure. The first section of the trail is actually a scramble up and rock scrambling skills are a must. We often had to use our hands and feet to pull ourselves almost straight up cliffs and through rocky chutes, over and around some pretty large boulders and talus. I wish I would have taken more pictures of the ‘danger zones’ but it was way too risky to get my camera out during the climb (for the camera and myself). We were having a total blast though, makes you feel like a little kid again! 🙂
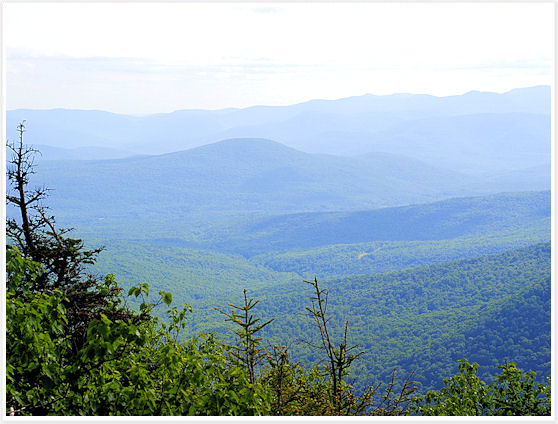
After spending all your energy and climbing up about 1,600 feet since the parking lot, you’ll finally make it to the South summit when the trees suddenly open up and a large rock ledge stands to your left, offering superior 225 degree views (you can spot Indian Head, Sugarloaf and Plateau mountains). You are now standing 3,557′ high up, and it is simply just awe inspiring…
Wish we could have stayed there a while longer to enjoy the view and the reward (made that devilish hike totally worth it by the way) but as it was already 5pm we had to start making our way down. I’d recommend you do this hike in the morning and use the rock ledge as the perfect picnic spot, it truly is. We made it back to the car a little past 7pm so count a good 4-4.5 hours for this hike.
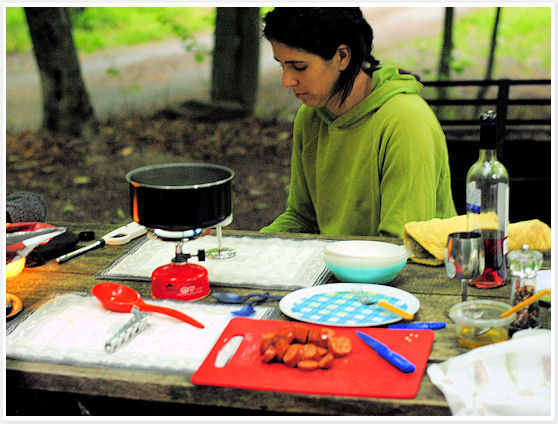
Back at the campsite, ravenous, we set up our makeshift kitchen, opened a bottle of chilled wine, and started some serious cooking which continued the next morning and into the final lunch on Sunday. I’ve always loved the idea of bringing gourmet cooking to the outdoors and I’m glad I found some great recipes that did just that. Granted, this is more for ‘camping with a car’ then it is for backpacking, but I hope you’ll take inspiration from it. All we had was the simplest of camp stove with only one burner, one pot and one pan, and obviously all the ingredients pre-packaged (preparation is key to make this work I’d say). I got the below recipes from Campfire Cuisine [1], a book that’ll get used up a lot this summer I feel. Happy camping!
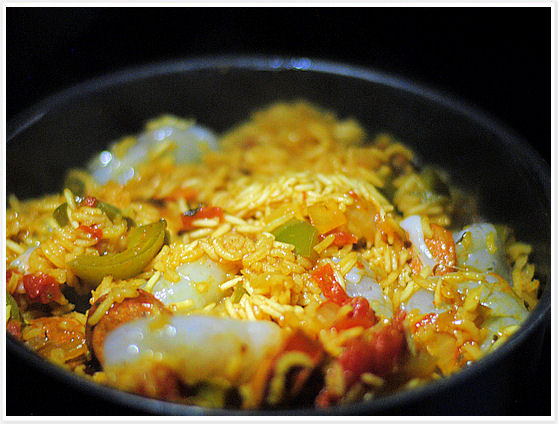
Jambalaya
Makes 4 to 6 servings
2 tablespoons olive oil
1 large onion, diced
2 cloves garlic, minced
2 green bell peppers, seeded and diced
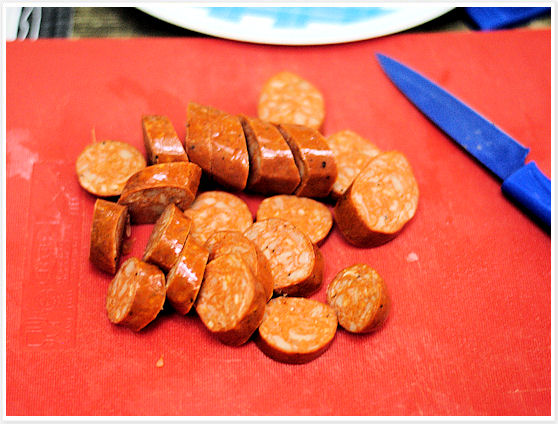
1 lb andouille or other spicy sausage, sliced
1 tabespoon chili powder
2 teaspoons dried thyme
1 teaspoon cayenne
1 teaspoon salt
1 14-oz can, diced tomatoes, drained
2 14-oz cans chicken or vegetable broth
1½ cup uncooked white rice
1 lb shrimps, peeled (optional)
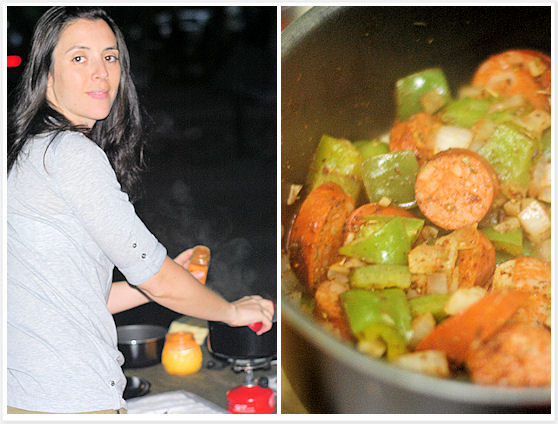
Heat the oil in a large pot over medium-high heat on a camp stove. Add the onion, garlic, and bell pepper, and cook, stirring, about 5 minutes, until the onion is soft and translucent.
Add the sausage, chili powder, thyme, cayenne, and salt.
Stir to combine, and cook for about one minute.
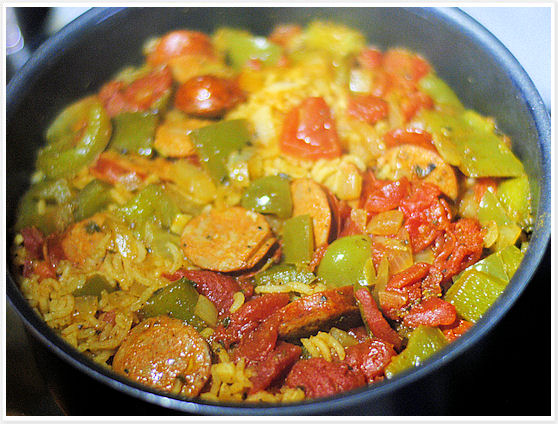
Add the tomatoes, broth, and rice.
Bring the mixture to a simmer, reduce the heat to low, cover, and cook, stirring occasionally, about 30 minutes, until the rice is tender.
Add the shrimp, if using, and cook, stirring, about 3 minutes more, until cooked through.
Serve hot!
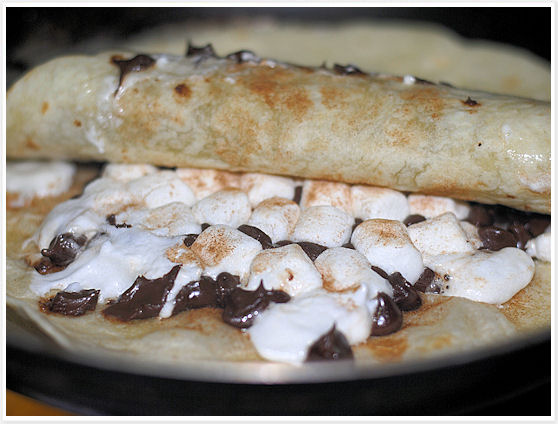
S’moradillas
Serves 4
4 small flour tortillas
½ cup semisweet chocolate chips
½ cup mini marshmallows
Cinnamon to taste
Place two tortillas in a pan over high heat. Top with the chocolate chips, the marshmallows, and a sprinkle of cinnamon.
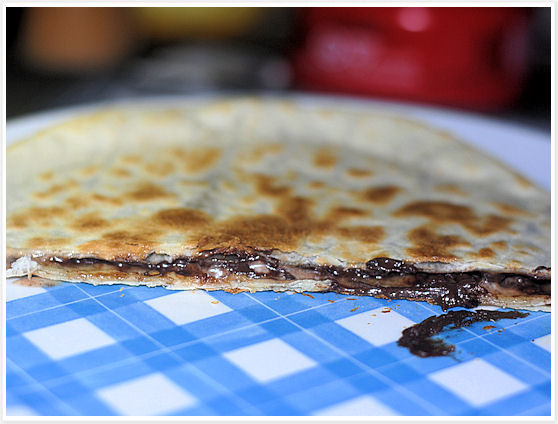
Place the remaining two tortillas on top. Cook, 3 to 4 minutes, until the bottom tortilla is lightly browned and crisp. Carefully flip the tortillas. Cook, 3 to 4 minutes more, until the second side is lightly browned and crisp.
Cut each into quarters and serve.
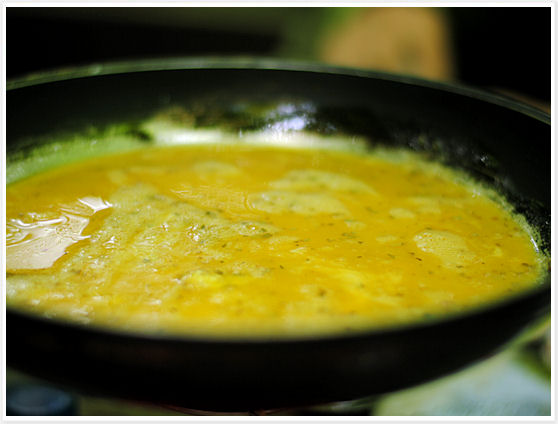
Mediterranean Breakfast Wrap
Makes 4 wraps
6 eggs or 1.5 cups liquid egg substitute
1 teaspoon oregano
½ teaspoon salt
½ teaspoon pepper
1 to 2 tablespoons olive oil or butter
4 tortillas
4 oz goat cheese
¼ cup pitted, chopped olives
¼ cup drained, chopped sun-dried tomatos (oil-packed)
Beat the eggs in a medium bowl with the oregano, salt, and pepper. Heat the oil or butter in a skillet over medium heat on a camp stove. Add the eggs to the skillet and reduce the heat to low.
Cook the eggs, stirring often, 3 to 5 minutes, until the desired doneness.
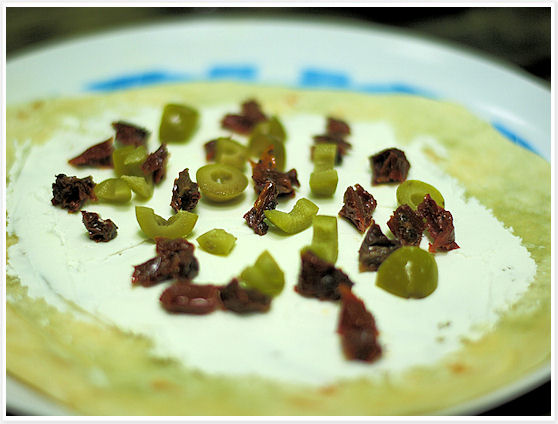
While the eggs are cooking, spread ¼ of the goat cheese down the center of each tortillas. Top with the olives and sun-dried tomatoes.
Spoon the cooked eggs onto the tortillas on top of the cheese, olives, and sun-dried tomatoes, dividing evenly between the four tortillas.
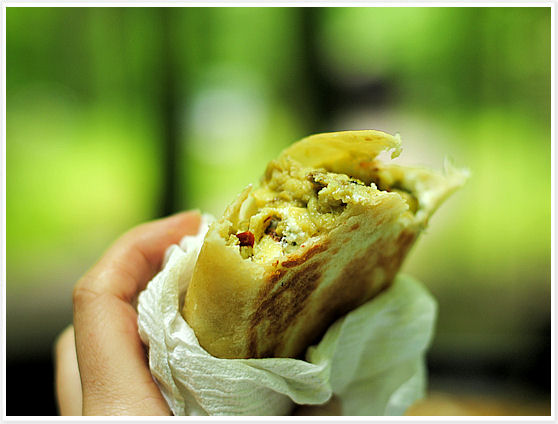
Roll the tortillas into neat packages by folding the ends in first, then rolling into a cylinder. Wipe out the skillet with a paper towel. Add a little more butter or oil, and warm over medium heat. When the pan is hot, add the rolled-up tortillas, seam-side down. Cook about 2 minutes, until the undersides are golden brown. Turn the wraps over and cook another 2 minutes or so, until the undersides are golden brown.
Serve immediately.
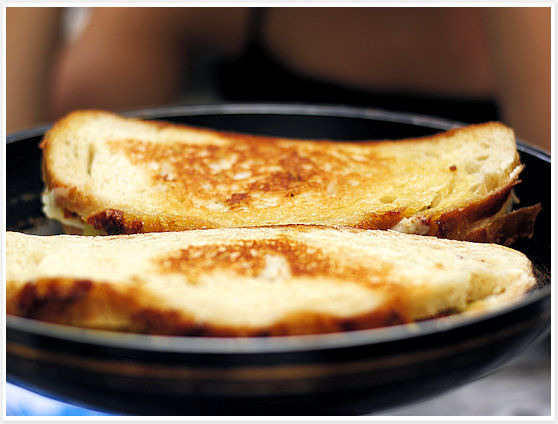
California Grilled Cheese Sandwiches
Makes 4 sandwiches
*These sandwiches can be cooked either on the grill or like we did in a skillet on a camp stove.
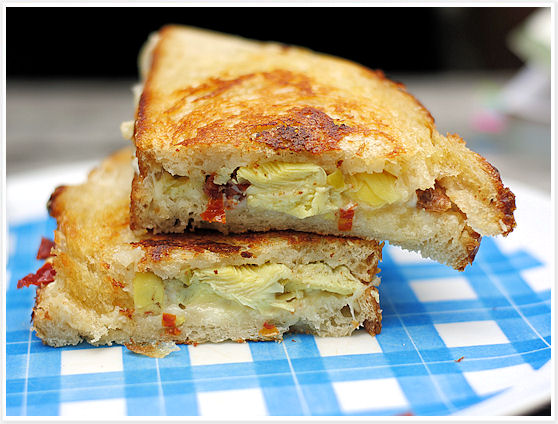
2/3 cup finely chopped drained canned artichoke hearts
1/3 cup finely chopped drained oil-packed sun-dried tomatoes
1/3 cup finely chopped pitted cured olives
1/2 teaspoon salt
1/2 teaspoon pepper
2 tablespoons olive oil or butter
8 slices sourdough bread
8 oz Monterey Jack cheese, thinly sliced
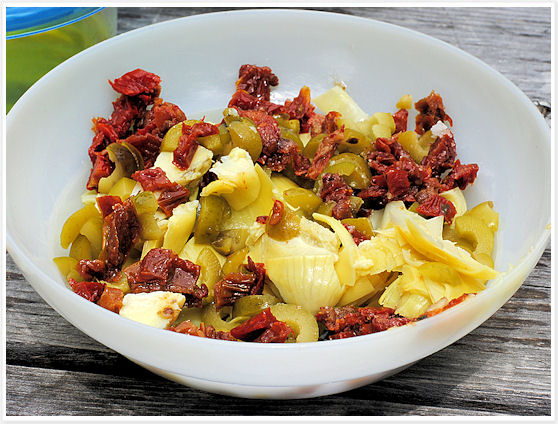
Mix the artichoke hearts. sun-dried tomatoes, olives, salt, and pepper in a small bowl until well combined.
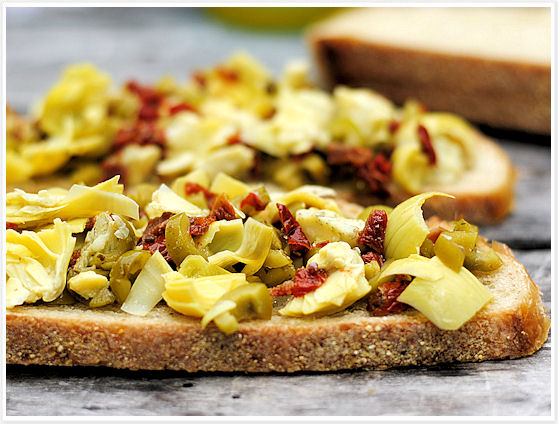
Top 4 slices of the bread with 1/4 of the artichoke mixture, then 1/4 of the cheese. Place the remaining 4 slices of bread on top.
Heat the olive oil or butter in a skillet over medium-high heat on the camp stove. Add sandwiches in a single layer and cook 2-3 minutes, until the undersides are golden brown and the cheese has begun to melt. Carefully turn over the sandwiches. Cook 2 to 3 minutes more, until the bottoms are golden brown. Turn over the sandwiches again and cook one more minute or so, until the cheese has completely melted.
Slice each sandwiches in half and serve immediately or wrap in foil to take along your hike!