London Restaurants

Sushi of Shiori, London

July 2, 2012

I’ve waited a long time to write something about Sushi of Shiori. For years it’s been my little secret foodie place in London, an out-of-sight gem that I would treat my closest friends to, delighting in their awe and surprise of never having heard of such a wonderful shrine to the art of sushi. Now that so many food bloggers have discovered it and countless reviews have been written, it no longer is such a secret though still maintains everything I love about it, thankfully.

The place doesn’t look like much from the outside and is located on a quiet stretch of Drummond Street, north of Warren St Tube, facing two rather dark Indian restaurants. Probably explains why it stayed out of the spotlight for so long. It’s so tiny with only 3 counter seats and place for 4-5 more at two little tables by the window that you’d easily mistake it for a take-out operation, which it isn’t. It’s on the contrary an extremely well crafted family affair, with the husband/chef working its magic right in front of you while his lovely wife takes good care of the customers.

I’ve been coming here for years now and I’m still amazed at the quality of the food, especially the sushi. The chef has previously worked at Michelin starred Umu and treat every single little morsels going through his hands like real work of art (they call it ‘sushi canape style’). The nigiri are all of extraordinary quality and each comes with its own little touch, usually a contrasting topping to create a combination of flavors that’ll make you close your eyes for just a few seconds in pure ecstasy. I particularly marvel at the generous scallop decorated with a dab of truffle shavings (the one item you shouldn’t miss on the menu!), the green okra paste on top of the tuna, the sweet shrimp that taste like nothing you’ve had before.

Sushi of Shiori - London

Here it’s all about the quality ingredients, no fuss, and especially no dipping bowls! The chef was tired of seeing people dumping their nigiri in the salty soy sauce, masking all the subtle taste of his inventive toppings, so he instead gives you the cutest little brush on the side to brush a tiny amount of sauce on the fish. It is so elegant and yet so useful I wonder why I haven’t seen this anywhere else.

The value for money is also pretty incredible for the best sushi in London. While you can treat yourself to the chef’s Omakase menu by reserving in advance (usually starts at £40 per person), I tend to always go for their signature Shiori plate which contains 8 amazing nigiri and 3 Hosomaki for £23, a steal.  I usually round it up with 1-2 pieces more from the a la carte menu and finish off with a creamy homemade ice cream…doesn’t get any better than this. Perhaps also adding the miso soup if you’re particularly peckish as it is insanely good!

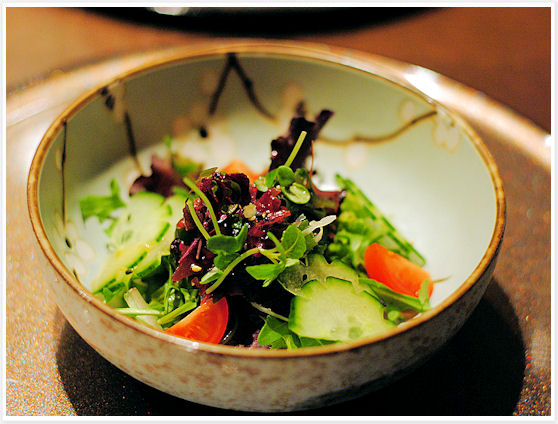
Seaweed salad
Sushi of Shiori - London

Shiori Plate
Sushi of Shiori - London

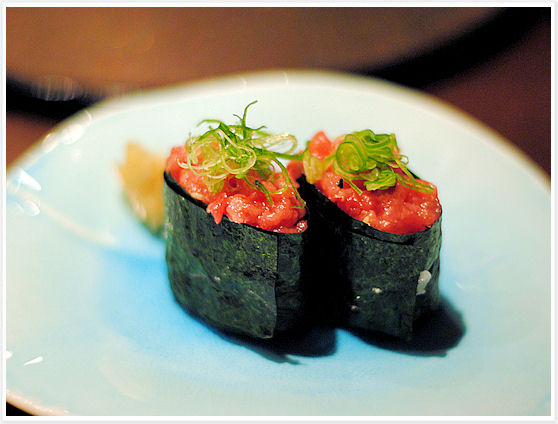
Chu-Toro (fatty tuna)Sushi of Shiori - London

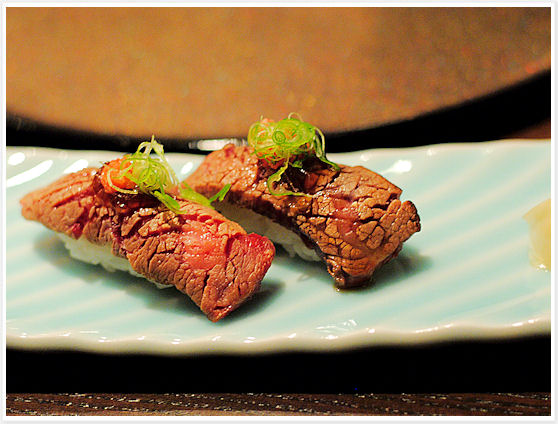
Wagyu nigiri: Succulent slice of Wagyu beef, seared with a blow torch.
Sushi of Shiori - London

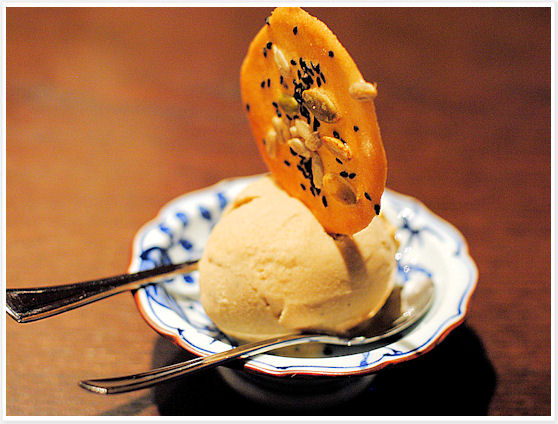
Hojicha Ice Cream (roasted tea) – distinct nutty flavor, delish!
Sushi of Shiori - London

If you haven’t guessed it, this is my favorite sushi restaurant in London so I urge you to go. Reservations are obviously necessary with only 7 covers and you can make them online via their website (http://www.sushiofshiori.co.uk/contact.html). You can ask for a seat at the bar if you want to get a view of the chef and all the action.

Sushi of Shiori
144 Drummond Street
London, NW1 2P4
map
 
Americas Recipes Travels US

Catskills – Hiking and Gourmet Camping

June 28, 2012

Catskill

Summer weekends are usually best spent entirely outdoors so a friend and I decided to go on a short Catskills getaway, 2.5 hours drive north of New York City. We set up camp at the Devil’s Tombstone Campground on NY 214, one of the oldest in the Catskills, offering primitive camping and easy access to some serious hikes in the area.
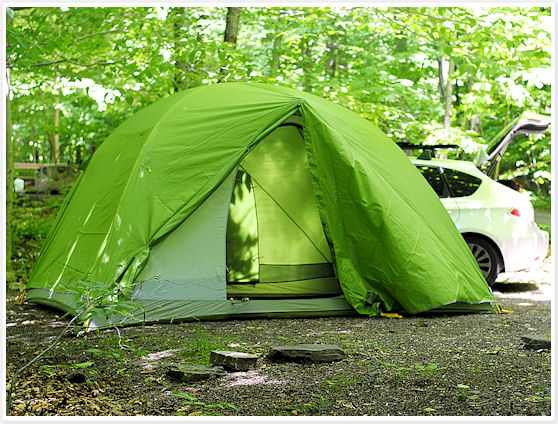
Catskill - Devil's Tombstone Camping

We told ourselves that since we made it all the way here, might as well stick with the theme and try our hiking skills on the famous Devil’s Path, one of the most difficult and dangerous hiking paths on the East Coast (some even say the world!). It is a rugged 27-mile long trail that crosses over seven mountains peaks, and while we didn’t have the time (or the inclination!) to do it all, just attempting a section of it is enough to earn you bragging rights!

The summits of Twin Mountain (yes, as the name implies there are two!) were known to offer some of the best views in the Catskills so we opted for this as our destination and challenge for the day. You can reach the top either via the East or the West side. We were closer to the West side so we drove up to the trail head parking lot there and started our hike with the Roaring Kill trail (another cheerful name!) for 0.4 miles. At the next junction, we took a left to follow the Pecoy Notch trail which would bring us to the Devil’s Path in about 1.5 miles.

In the beginning, the trail is very mellow and consists of your typical Castkills forest setting with an abundance of flat stones, dense forest areas, cute little streams and a few distractions such as a big beaver pond.

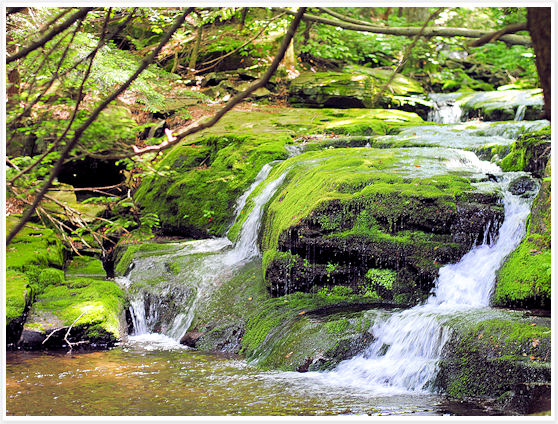
Catskill - Pecoy Notch Trail

Catskill - Pecoy Notch Trail

The trail wound gradually uphill, higher and higher, passing a great stone quarry along the way where you can take a little break and sit in one of the chairs built out of the slate, taking in the nice views across the valley.
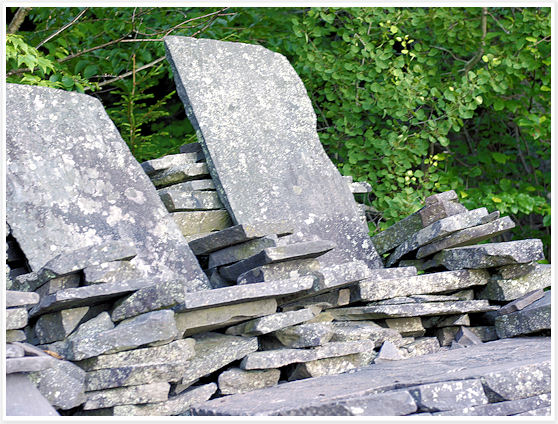
Catskill - Pecoy Notch Trail

We eventually reached the junction with the Devil’s Path, marked in red unsurprisingly, and soon started to witness the nastiness of its name – from now on, it was going to be challenging and no doubt that the Devil worked hard to make it as difficult as possible for us to pass through!

You better be a skilled hiker who is in good shape and unafraid of heights for this one, that’s for sure. The first section of the trail is actually a scramble up and rock scrambling skills are a must. We often had to use our hands and feet to pull ourselves almost straight up cliffs and through rocky chutes, over and around some pretty large boulders and talus. I wish I would have taken more pictures of the ‘danger zones’ but it was way too risky to get my camera out during the climb (for the camera and myself). We were having a total blast though, makes you feel like a little kid again! 🙂

Catskill - Pecoy Notch Trail

After spending all your energy and climbing up about 1,600 feet since the parking lot, you’ll finally make it to the South summit when the trees suddenly open up and a large rock ledge stands to your left, offering superior 225 degree views (you can spot Indian Head, Sugarloaf and Plateau mountains). You are now standing 3,557′ high up, and it is simply just awe inspiring…

Catskill - Twin Mountain Summit

Wish we could have stayed there a while longer to enjoy the view and the reward (made that devilish hike totally worth it by the way) but as it was already 5pm we had to start making our way down. I’d recommend you do this hike in the morning and use the rock ledge as the perfect picnic spot, it truly is. We made it back to the car a little past 7pm so count a good 4-4.5 hours for this hike.

Back at the campsite, ravenous, we set up our makeshift kitchen, opened a bottle of chilled wine, and started some serious cooking which continued the next morning and into the final lunch on Sunday. I’ve always loved the idea of bringing gourmet cooking to the outdoors and I’m glad I found some great recipes that did just that. Granted, this is more for ‘camping with a car’ then it is for backpacking, but I hope you’ll take inspiration from it. All we had was the simplest of camp stove with only one burner, one pot and one pan, and obviously all the ingredients pre-packaged (preparation is key to make this work I’d say). I got the below recipes from Campfire Cuisine, a book that’ll get used up a lot this summer I feel. Happy camping!
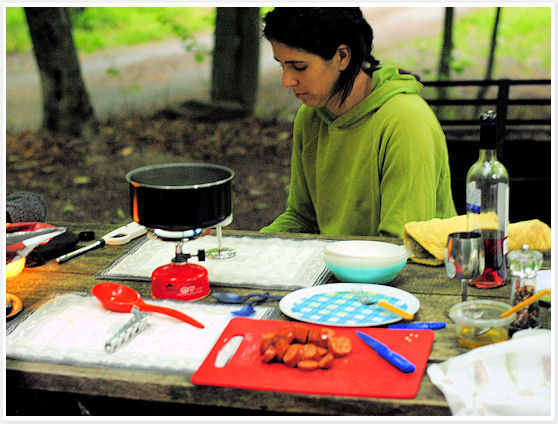
Catskill - Devil's Tombstone Camping

Jambalaya

Makes 4 to 6 servings

2 tablespoons olive oil
1 large onion, diced
2 cloves garlic, minced
2 green bell peppers, seeded and diced
1 lb andouille or other spicy sausage, sliced
1 tabespoon chili powder
2 teaspoons dried thyme
1 teaspoon cayenne
1 teaspoon salt
1 14-oz can, diced tomatoes, drained
2 14-oz cans chicken or vegetable broth
1½ cup uncooked white rice
1 lb shrimps, peeled (optional)


Heat the oil in a large pot over medium-high heat on a camp stove. Add the onion, garlic, and bell pepper, and cook, stirring, about 5 minutes, until the onion is soft and translucent.
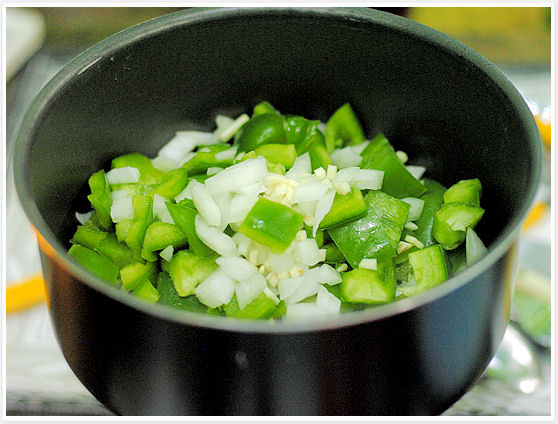
Jambalaya - Camping

Add the sausage, chili powder, thyme, cayenne, and salt.
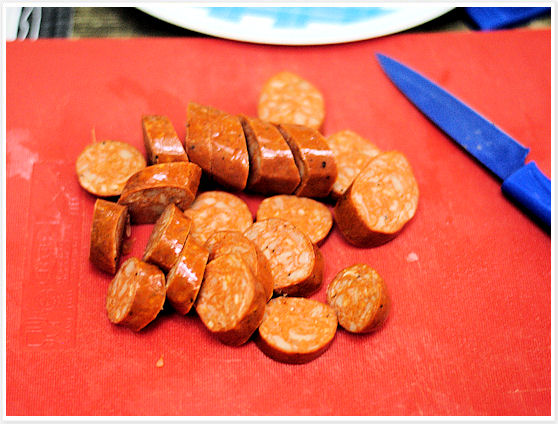
Jambalaya - Camping

Stir to combine, and cook for about one minute.
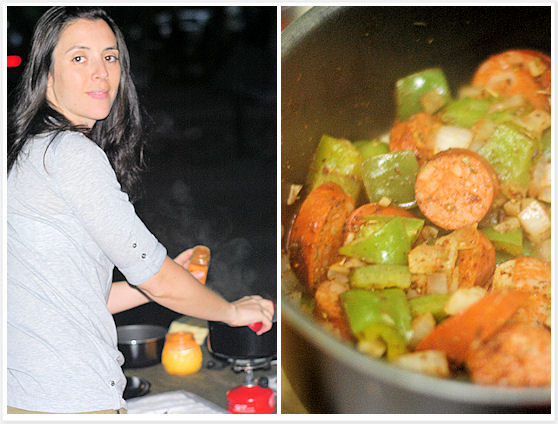
Jambalaya - Camping

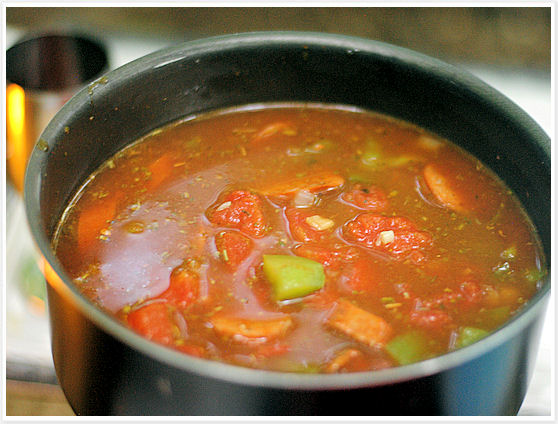
Add the tomatoes, broth, and rice.

Jambalaya - Camping

Bring the mixture to a simmer, reduce the heat to low, cover, and cook, stirring occasionally, about 30 minutes, until the rice is tender.
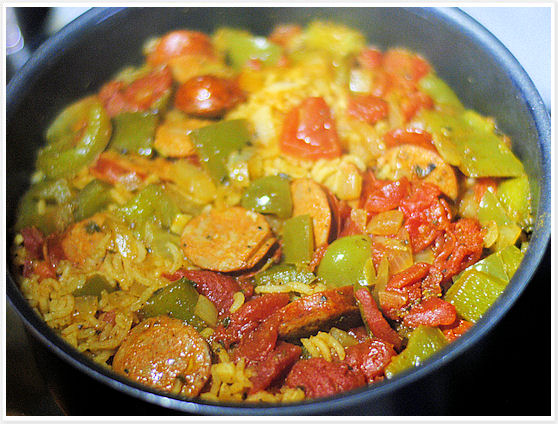
Jambalaya - Camping

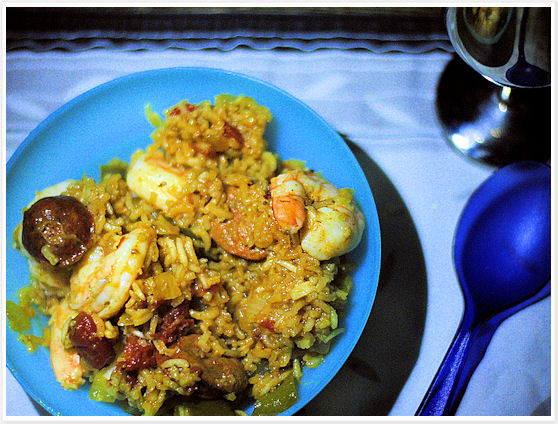
Add the shrimp, if using, and cook, stirring, about 3 minutes more, until cooked through.
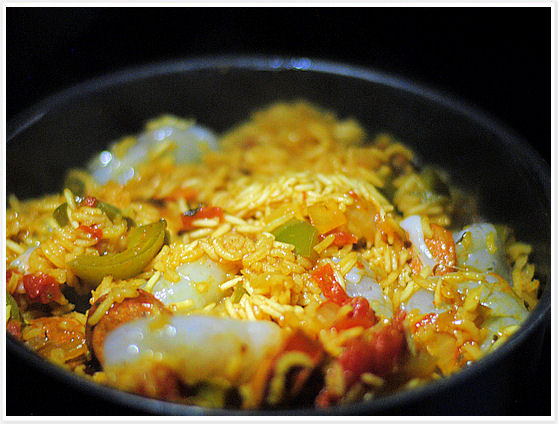
Jambalaya - Camping

Serve hot!

Jambalaya - Camping

S’moradillas

Serves 4

4 small flour tortillas
½ cup semisweet chocolate chips
½ cup mini marshmallows
Cinnamon to taste

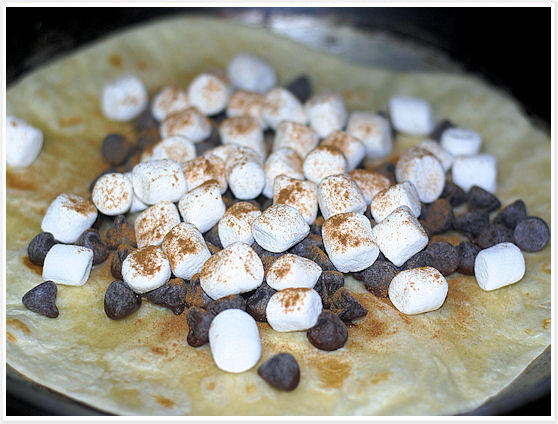
Place two tortillas in a pan over high heat. Top with the chocolate chips, the marshmallows, and a sprinkle of cinnamon.
Smores - Camping

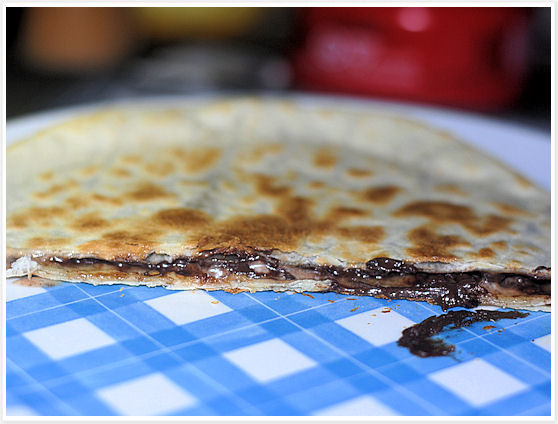
Place the remaining two tortillas on top. Cook, 3 to 4 minutes, until the bottom tortilla is lightly browned and crisp. Carefully flip the tortillas. Cook, 3 to 4 minutes more, until the second side is lightly browned and crisp.

Smores - Camping

Cut each into quarters and serve.

Smores - Camping

Mediterranean Breakfast Wrap

Makes 4 wraps

6 eggs or 1.5 cups liquid egg substitute
1 teaspoon oregano
½ teaspoon salt
½ teaspoon pepper
1 to 2 tablespoons olive oil or butter
4 tortillas
4 oz goat cheese
¼ cup pitted, chopped olives
¼ cup drained, chopped sun-dried tomatos (oil-packed)


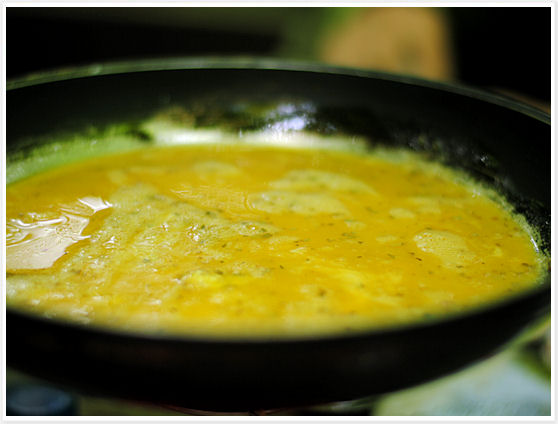
Beat the eggs in a medium bowl with the oregano, salt, and pepper. Heat the oil or butter in a skillet over medium heat on a camp stove. Add the eggs to the skillet and reduce the heat to low.
Breakfast Burrito - Camping

Cook the eggs, stirring often, 3 to 5 minutes, until the desired doneness.

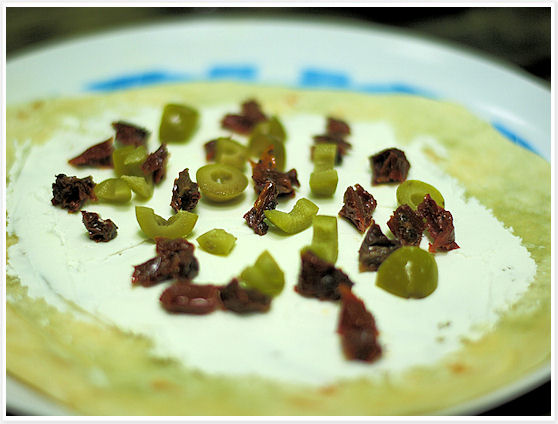
While the eggs are cooking, spread ¼ of the goat cheese down the center of each tortillas. Top with the olives and sun-dried tomatoes.
Breakfast Burrito - Camping

Spoon the cooked eggs onto the tortillas on top of the cheese, olives, and sun-dried tomatoes, dividing evenly between the four tortillas.
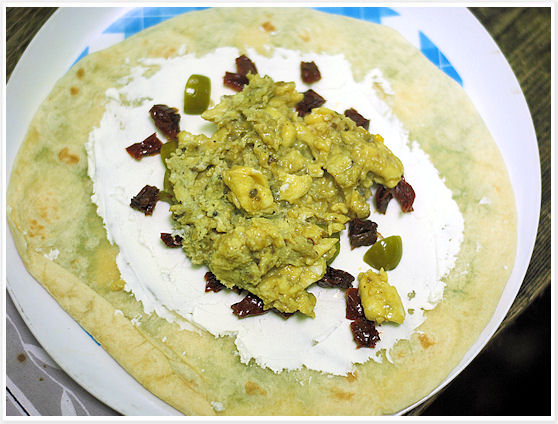
Breakfast Burrito - Camping

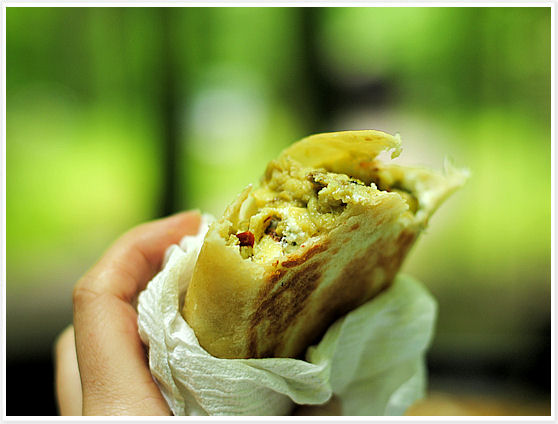
Roll the tortillas into neat packages by folding the ends in first, then rolling into a cylinder. Wipe out the skillet with a paper towel. Add a little more butter or oil, and warm over medium heat. When the pan is hot, add the rolled-up tortillas, seam-side down. Cook about 2 minutes, until the undersides are golden brown. Turn the wraps over and cook another 2 minutes or so, until the undersides are golden brown.
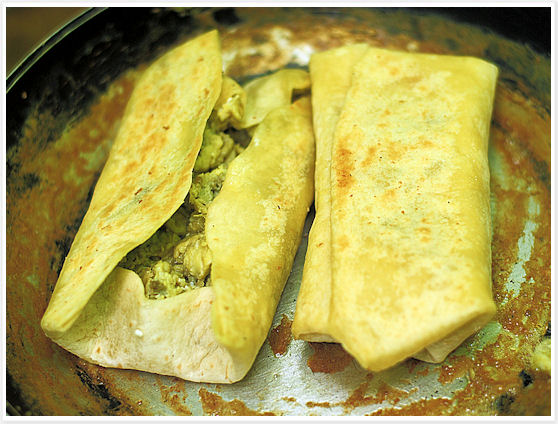
Breakfast Burrito - Camping

Serve immediately.

Breakfast Burrito - Camping

California Grilled Cheese Sandwiches

Makes 4 sandwiches

*These sandwiches can be cooked either on the grill or like we did in a skillet on a camp stove.

2/3 cup finely chopped drained canned artichoke hearts
1/3 cup finely chopped drained oil-packed sun-dried tomatoes
1/3 cup finely chopped pitted cured olives
1/2 teaspoon salt
1/2 teaspoon pepper
2 tablespoons olive oil or butter
8 slices sourdough bread
8 oz Monterey Jack cheese, thinly sliced

Mix the artichoke hearts. sun-dried tomatoes, olives, salt, and pepper in a small bowl until well combined.
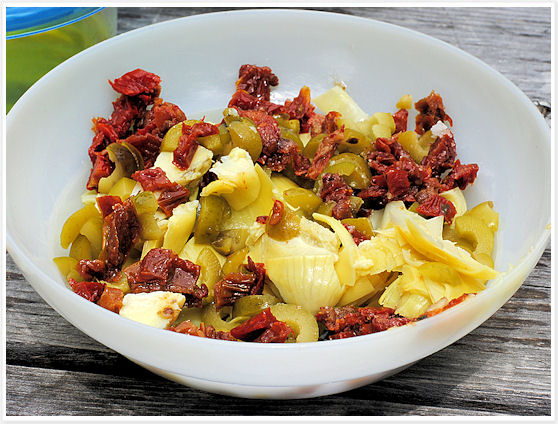
Panini with artichokes - Camping

Top 4 slices of the bread with 1/4 of the artichoke mixture, then 1/4 of the cheese. Place the remaining 4 slices of bread on top.
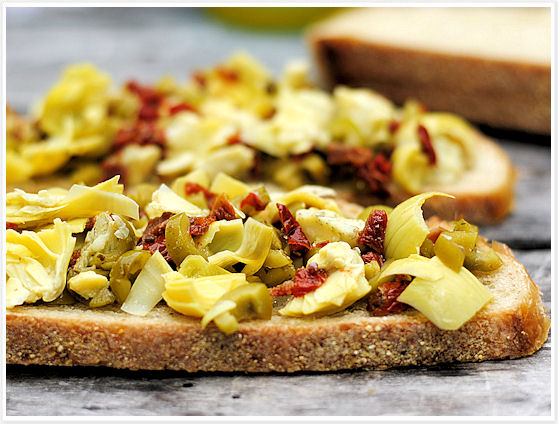
Panini with artichokes - Camping

Heat the olive oil or butter in a skillet over medium-high heat on the camp stove. Add sandwiches in a single layer and cook 2-3 minutes, until the undersides are golden brown and the cheese has begun to melt. Carefully turn over the sandwiches. Cook 2 to 3 minutes more, until the bottoms are golden brown. Turn over the sandwiches again and cook one more minute or so, until the cheese has completely melted.
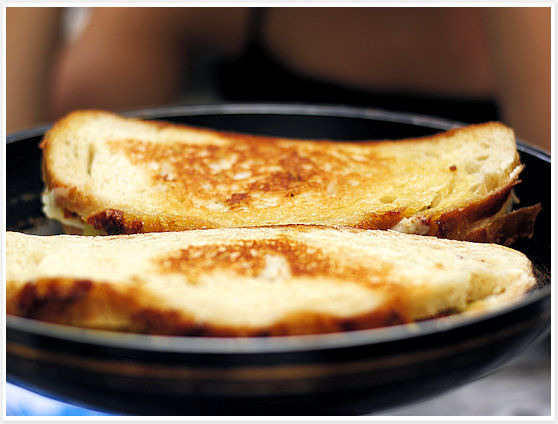
Panini with artichokes - Camping

Slice each sandwiches in half and serve immediately or wrap in foil to take along your hike!
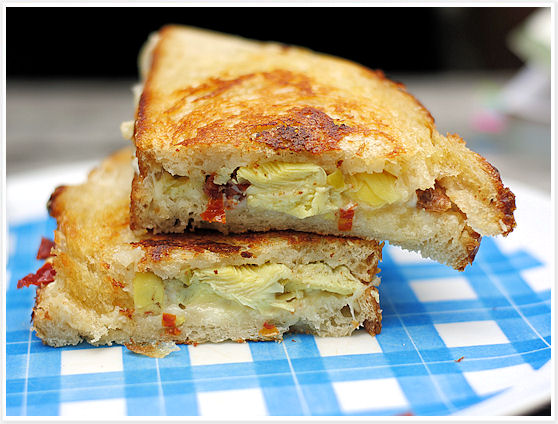
Panini with artichokes - Camping

[print_link]


Main course Recipes

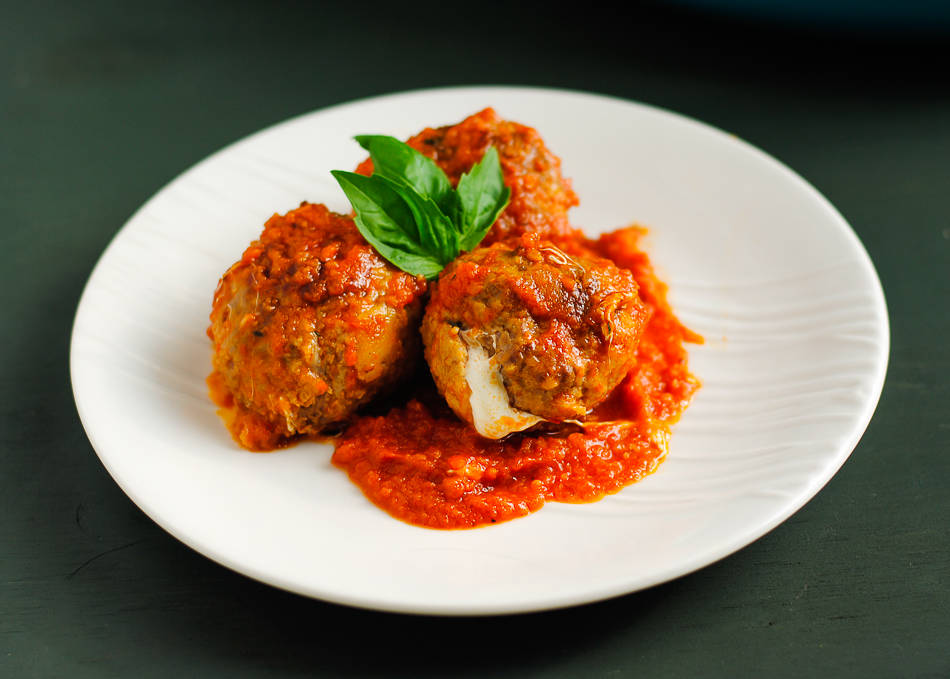
Tomato-Braised Meatballs with Melting Mozzarella

June 22, 2012

Meatballs… they’re on practically everyone’s favorite comfort food list and can be enjoyed in so many different ways they now have entire restaurants dedicated to them (The Meatball Shop in New York City is pure genius). While most consume them over pasta or stuffed in a sandwich, some have discovered the art of meatballs as a main dish such as in this mozzarella-stuffed meatballs recipe. Hearty, sizeable and a show stopper, they require nothing other than a light side dish and a good glass of red wine.

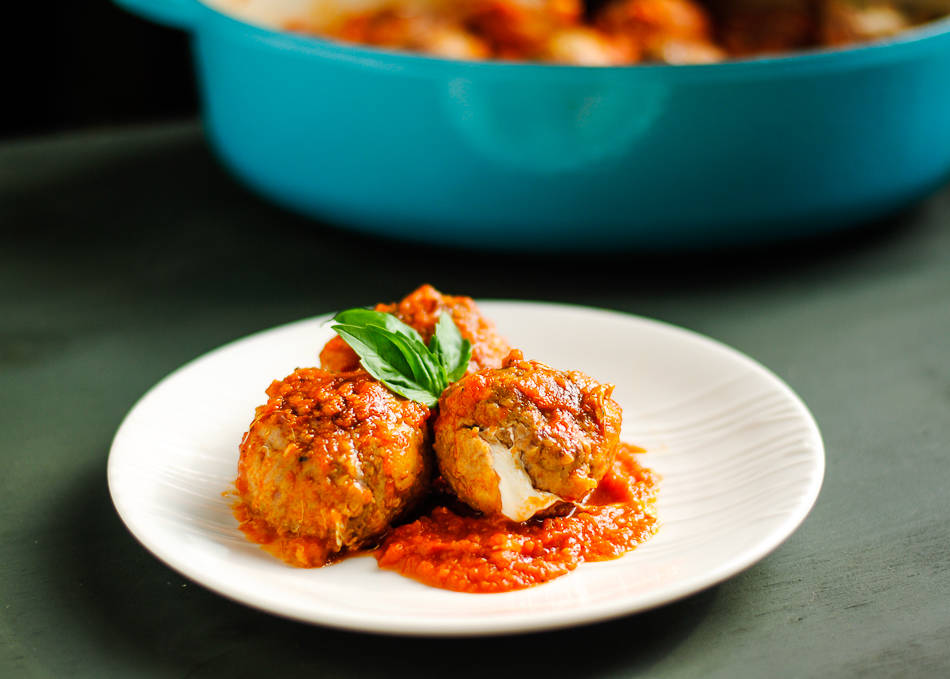
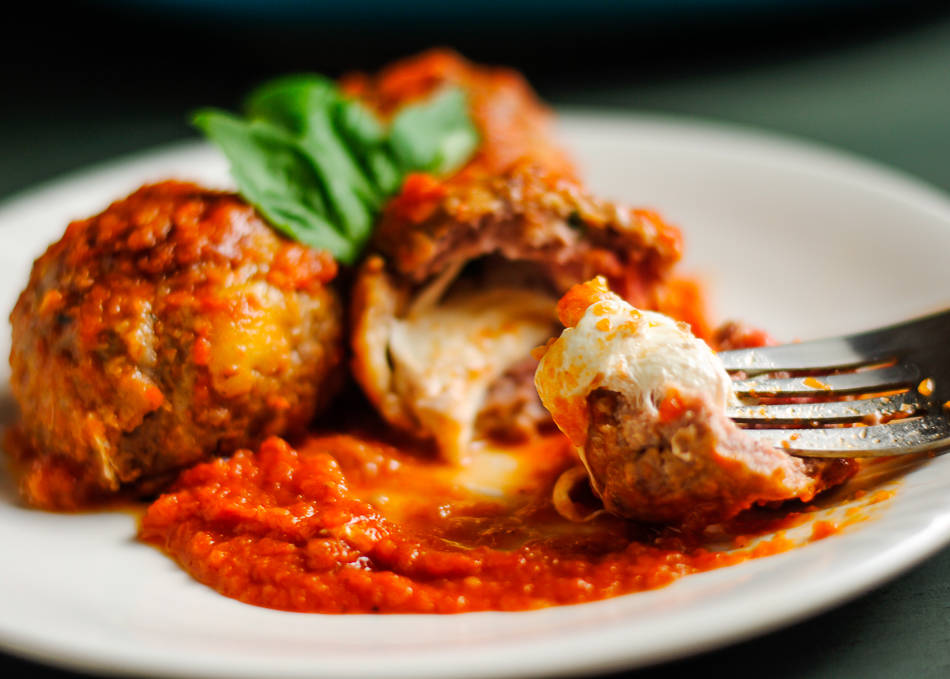
I can’t say for sure if it’s the element of surprise or just the cheese that makes me love these meatballs so much. They’re essentially a meaty version of arancinis with the same unctuous and insanely gooey melted mozzarella interior. Let’s face it, making meatballs is not a walk in the park and no matter what it will require some dedicated time over the weekend. So why not throw a little mozzarella ball into the mix – it’s as easy as making them the regular way and it adds a little fun factor for anyone who like me really enjoy playing with their food!

Tomato-Braised Meatballs with Melting Mozzarella


Adapted from The Cheesemonger’s Kitchen
Total time: 2 hours
Makes about 6 servings

Meatballs
225g stale baguette, sliced
1/2 cup (30g) fresh basil, chopped
450g ground beef
450g ground pork
1 cup (100g) grated pecorino romano cheese
2 eggs, beaten
1 tsp salt
pepper
20 bocconcini di mozzarella cheese

Sauce
6 tbsp olive oil
2 small onions, minced
3 garlic cloves, peeled
910g fresh or canned San Marzano or plum tomatoes, peeled, seeded, and chopped
salt and pepper
pinch of crushed red chilies

Assembly
1/4 cup olive oil
1/2 cup water

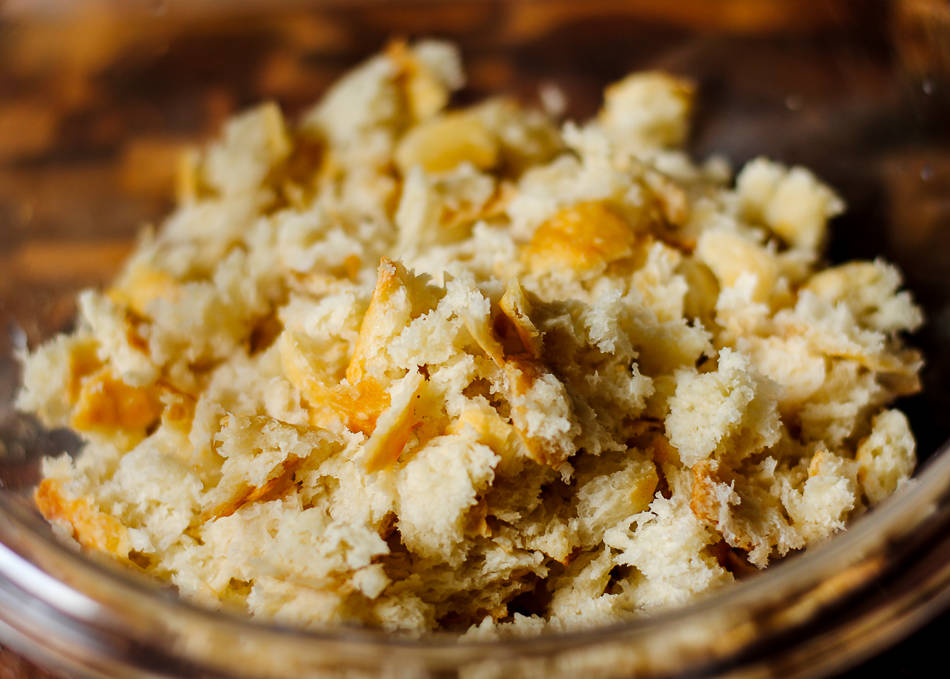
Submerge bread in enough cold water to thoroughly soak and then squeeze dry.

Tear into small pieces and place in large mixing bowl.

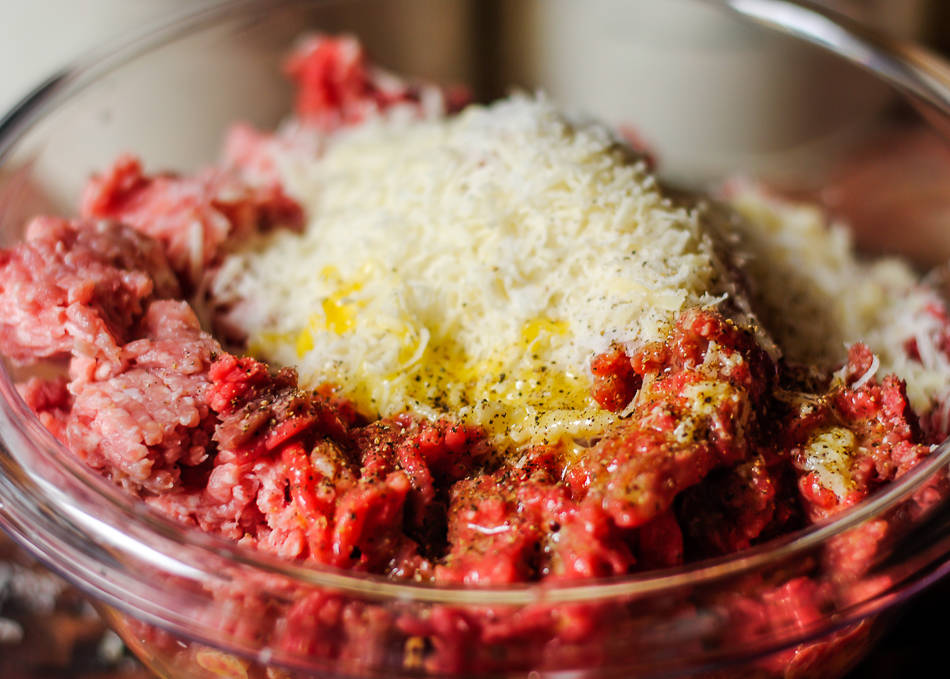
Add basil, beef, pork, pecorino, eggs, salt, and a few grindings of pepper to bowl. Mix.

Form mixture into 20 patties 2″ in diameter.

Lay a bocconcini ball on each patty and mold meat mixture around to form meatballs.

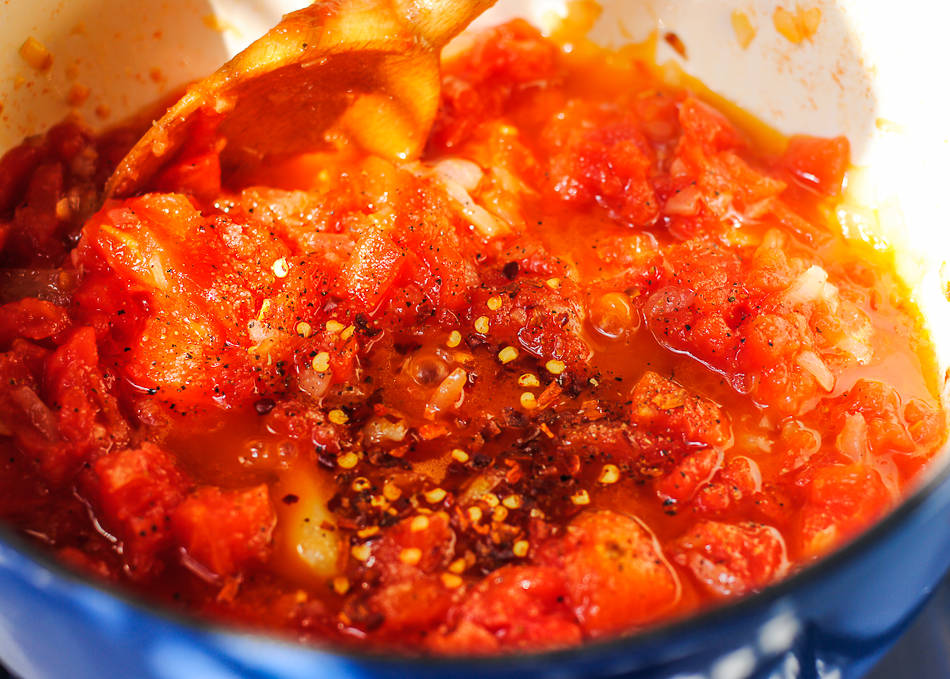
Prepare the sauce: Heat olive oil in large saucepan over low heat. Add onions and cook 10 minutes or until translucent. Turn up heat to medium, add garlic, and cook for 3 – 4 minutes or until aromatic. Add tomatoes, season well with salt and pepper and add chilies.

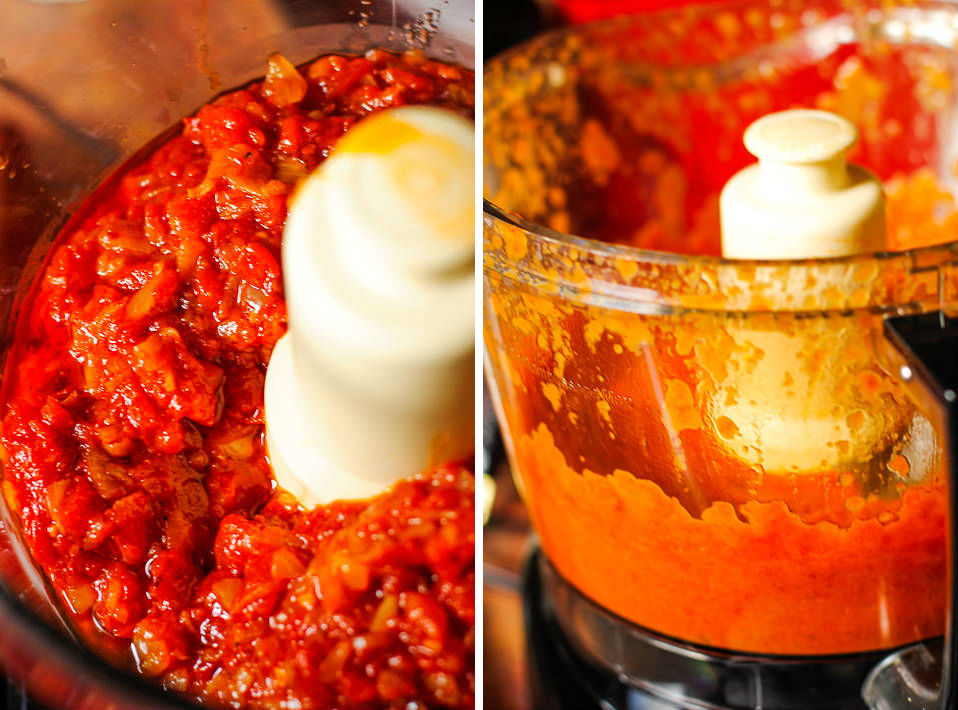
Simmer sauce for 20 minutes, stirring often. Puree with immersion blender.

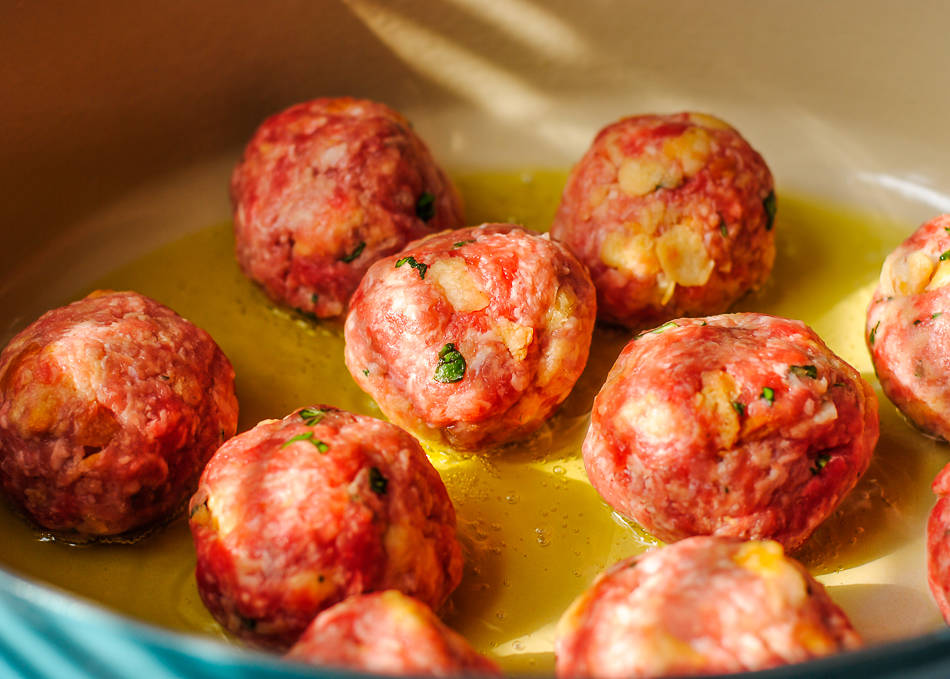
In a deep saucepan large enough to hold meatballs and sauce, heat olive oil until hot. Brown meatballs a few at a time.

Deglaze bottom of pan with water, scraping to release bits of meat. Add tomato sauce and then meatballs. Bring to simmer and cook for 10 minutes or until cooked through. Serve.

Mozzarella Stuffed Meatballs 2

[print_link]

New York Restaurants

Torrisi Italian Specialties, New York

June 18, 2012

One of the most talked about restaurant since last year, Torrisi Italian Specialties has evolved, expanded and matured since its beginnings while still staying true to its original charms and bold personality. In the early days you had to wait hours in line for the chance to sample their $50 daily-changing 7 courses dinner menu set in a cramped Italian looking deli. Now, the magic of the reservation system can get you a table in about a month (that’s about how long it’ll take for a prime-time seat), the set tasting menu has increased to $65, and the space feels somewhat a little fancier with top-notch service to go with it.

$65 for seven pretty tasty plates is considered a steal in a city like New York, especially since at Torrisi the experience will be just like at any upscale Michelin starred restaurant minus the pretentiousness. The cuisine is playful and refined (Italian-American with ethnic touches), the ambiance is intimate and the place so tiny you’ll feel privileged just walking through the door – and you should after waiting one month for your table!

While none of the seven dishes I had that night would deserve a ‘best of’ mention, considering the fact that they change the menu almost every day and offer one of the best value in town I would say this is definitely a must try in my books. The quality of the food is far superior to anything you’d get in the neighborhood and the presentation, though humble, is  guaranteed to make it a very memorable evening. If you haven’t heard of their fresh and warm mozzarella yet, I hope this will convince you to go…

The $65 tasting menu the night we were there:

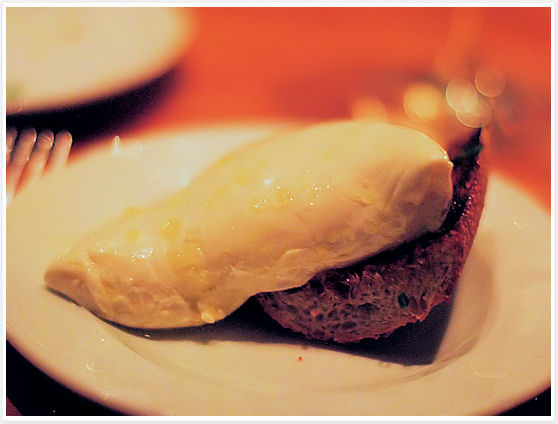
ANTIPASTI – Warm Mozzarella, DaVero Olive Oil (as insanely good as it looks and one of the only quasi-permanent item on the menu…I now know why)
Torrisi Italian Specialties - Warm Mozzarella

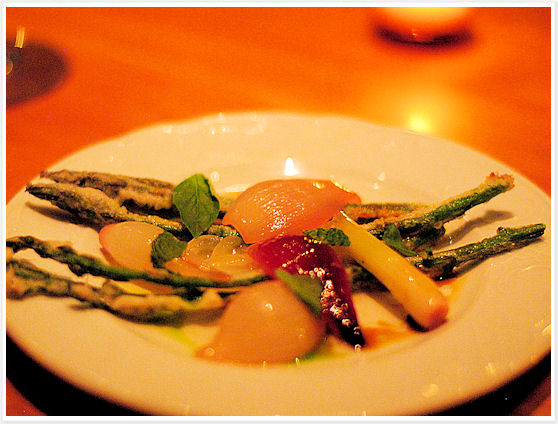
Asparagus
Torrisi Italian Specialties - Asparagus

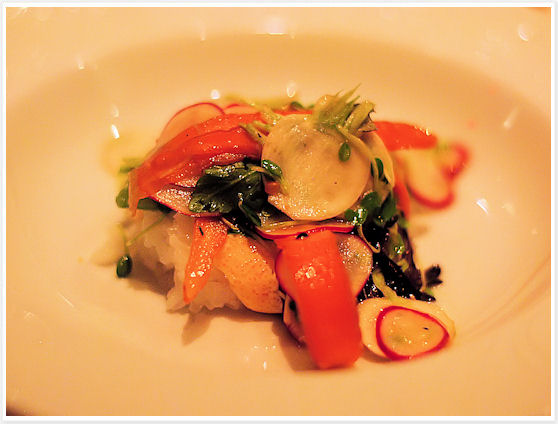
Sour Spring Vegetables, Short Grain Rice
Torrisi Italian Specialties

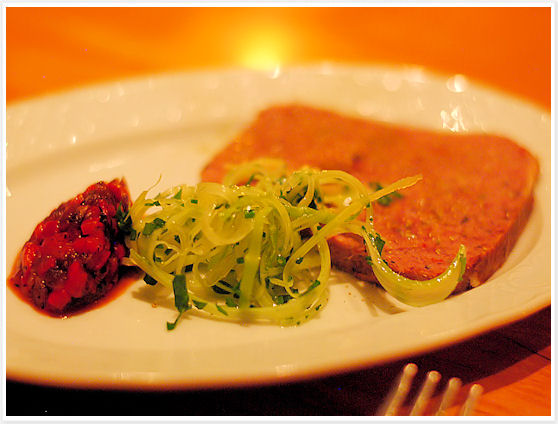
Italian Sausage Pate, Charred Peppers and Onions
Torrisi Italian Specialties - Italian sausage pate

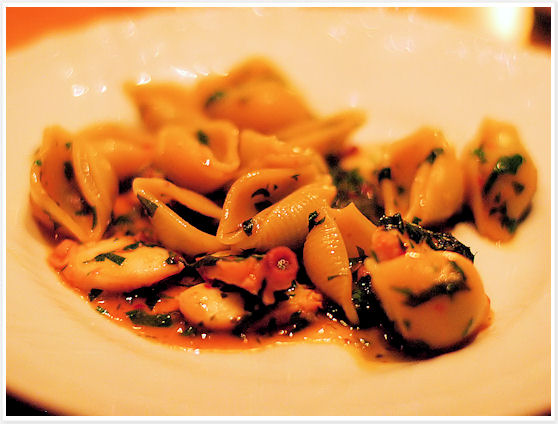
PASTA – Sea Shells, Octopus & Potato
Torrisi Italian Specialties - Pasta

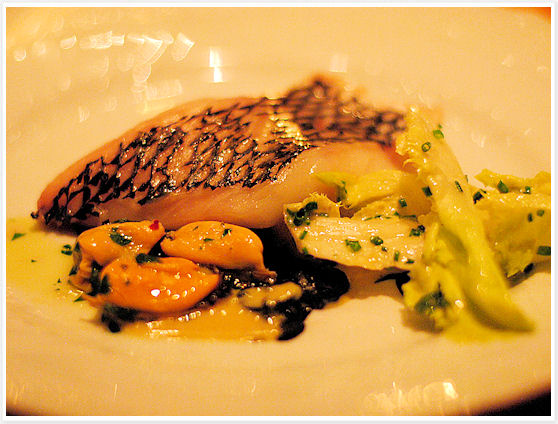
ENTRÉE – Black Sea Bass, Anchovy & Black Olives
Torrisi Italian Specialties - Black Sea Bass

COOKIE PLATE – Ricotta Cannoli, Peppermint Truffle, Tri-Color, Celery Cookie, Apricot Cucidati
Torrisi Italian Specialties - Cookie Plate

If you ever find yourself shopping in the neighborhood by day, know that Torrisi turns into a cute Little Italy deli with a deli counter full of cold cuts and antipasti dishes priced by the pound. Sit down for some Italian American classics like eggplant parmigiana or grab a turkey hero to go before the clock turns 4pm and the transformation begins…

Torrisi Italian Specialties
250 Mulberry St
New York, NY 10012
T: (212) 965-0955
map
 
Main course Recipes Side dish Vegetarian

Tamara’s Ratatouille

June 14, 2012

I think I may have just found the best way to get your daily portion of veggies… Digging once more into one of my favourite cookbooks, Plenty by Yotam Ottolenghi, I stumbled upon this unusual yet very tempting ratatouille. Unlike your traditional mix of zucchinis, bell peppers and tomatoes which often results in a wet and mushy stew-like concoction, this one promised to retain the veggies’ shape and deliver a more intense flavour.

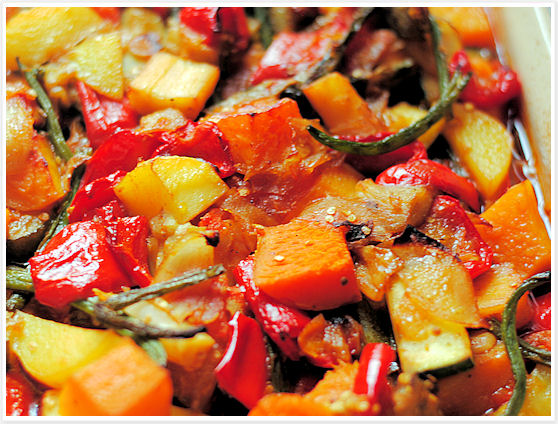
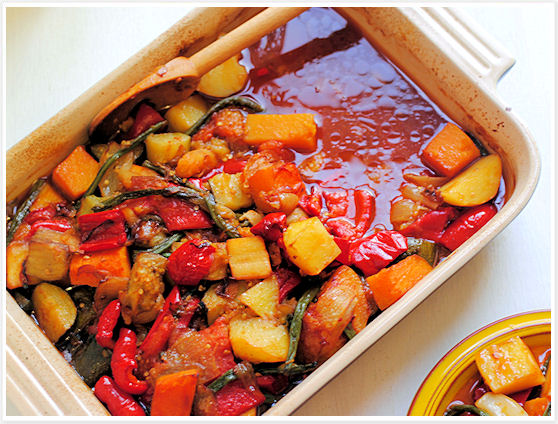
I have to agree on all counts; what came out of the oven was a magnificent mixture of perfectly roasted chunks of fall vegetables, with the butternut squash, parsnips, eggplants, tomatoes, and green beans giving a hearty makeover to the best ratatouille I’ve had to date, period. Nothing that good comes easy though so be ready to spend a decent amount of time preparing your veggies (there’s no way around it, you must prep them all before you even get started). So turn on some good music and start chopping…

It’s well worth the effort and the decent quantity that you’re left with will take care of those daily eating recommendations for at least a few days. Serve it with rice or naan bread for a very filling dish.

Tamara’s Ratatouille

Adapted from Plenty
Active time: 1 hour
Total time: 2 hours
Makes 4 generous servings
 
7 tablespoons sunflower oil (or extra-virgin olive oil)
2 small onions, cut into 1 1/4-inch dice
4 garlic cloves, peeled, sliced
1/2 fresh green chili, thinly sliced
2 small red bell peppers, cut into 1 1/4-inch dice
1/2 small butternut squash, peeled, cut into 1 1/4-inch dice
1 small parsnip, peeled, cut into 1 1/4-inch dice
1 cup French green beans, trimmed
1 medium zucchini, cut into 1 1/4-inch dice
1/2 large eggplant, peeled, cut into 1 1/4-inch dice
1 small baking potato, peeled, cut into 1 1/4-inch dice
2 medium tomatoes, peeled, chopped
1/2 tablespoon sugar
1 tablespoon tomato paste
Salt and freshly ground black pepper
1 cup water
Garnish: chopped fresh cilantro
 

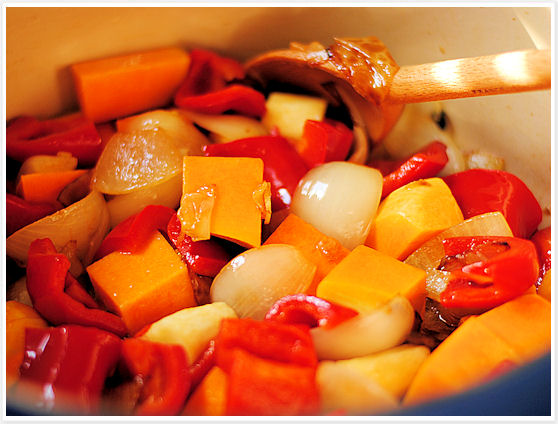
Pour 2/3 of oil into large heavy casserole or pot and place on medium-high heat. Add onions and fry 5 minutes, stirring occasionally. Stir in garlic, chili and red peppers; cook, stirring occasionally, another 5 minutes. Add butternut squash and parsnip and continue frying for 5 additional minutes.

Tamara's Ratatouille

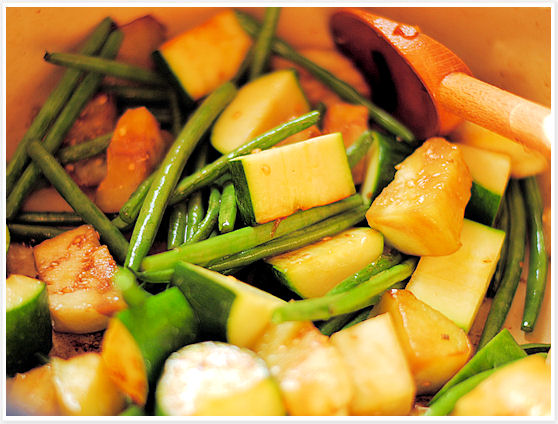
Using a slotted spoon, lift vegetables out of pot into medium bowl, leaving as much of the oil in the pot as possible. Top this up with remaining oil. Add green beans, zucchini and eggplant; fry 5 minutes, stirring occasionally.

Tamara's Ratatouille

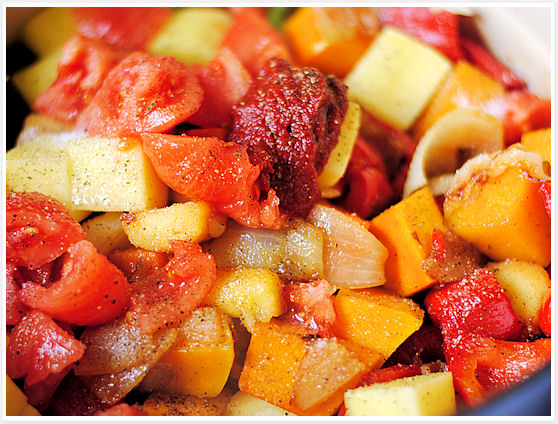
Preheat oven to 400 degrees. Return contents of bowl to pot. Add potato, tomatoes, sugar, tomato paste and plenty of salt and pepper.

Tamara's Ratatouille

Stir well, then pour in the water, or just enough water to half-cover the vegetables. Cover with lid and simmer gently for 30 minutes. Taste and add more salt and pepper if needed.

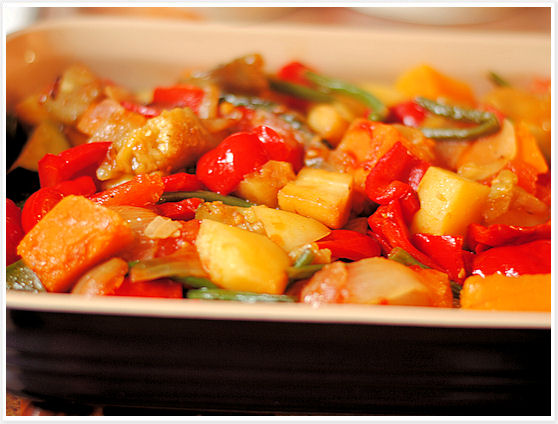
Use slotted spoon to gently lift vegetables from pot into a large, deep roasting pan to make a layer about 1 1/4 inches deep.

Tamara's Ratatouille

Pour liquid over vegetables and place in middle of preheated oven to cook for 30 minutes. At this point all the vegetables should be very soft and most of the liquid evaporated. Garnish with chopped cilantro if desired and serve.

Tamara's Ratatouille

Tamara's Ratatouille

[print_link]